Installation
AIRCOSAVER installation is simple and takes approximately 15-30 minutes (depending on local situations). A detailed step-by-step installation manual is provided with each AIRCOSAVER.
The AIRCOSAVER is designed to be installed into existing systems as an after market fit (retrofit). The AIRCOSAVER is NOT a DIY (do-it-yourself) solution. It should be installed by a qualified A/C technician or electrician.

For which systems is the AIRCOSAVER suitable?
An AIRCOSAVER is suitable for most residential and light commercial DX (direct expansion) AC systems, e.g. window units, wall-mounted units, single splits and small packaged units.
Where should you NOT install an AIRCOSAVER? The standard AIRCOSAVER is NOT suitable for
- chilled water systems,
- evaporative cooling systems,
- inverter type split systems and
- multi split systems.
- Also, some Mitsubishi models (e.g. the Mr. Slim range) are NOT suitable for installation due to extensive built-in monitoring functions which can cause problems under some operating conditions.
Installation step-by-step
For clarity’s sake the images below illustrate the installation of an AIRCOSAVER into a small window unit. However, the installation steps are basically the same for many other types of aircon units. The AIRCOSAVER is suited for a wide range of air conditioning types such as single-split systems, packaged units or small central aircon units. In our „Support“ section your will find extended installation and demo guidelines.

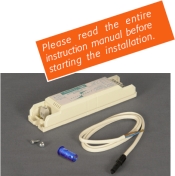
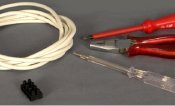
material
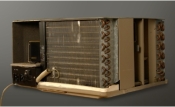
remove covers
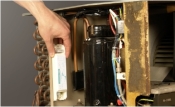
location
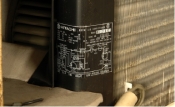
diagram
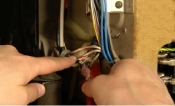
(or compressor
contactor)
switching wire.
This is the cable through
which the thermostat
tells the compressor
to run or stop.
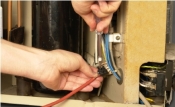
wire through the
AIRCOSAVER (i.e. the
AIRCOSAVER is now
logically in series with
the thermostat).
Connect power
to the AIRCOSAVER.
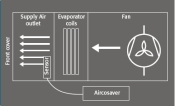
supply air stream
(schematic)
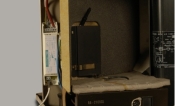
supply air stream
(example)
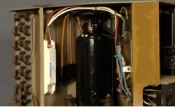
Congratulation! Installation is complete. Your AC system is ready to save energy.